Polymer Cane Techniques
Polymer Cane Techniques
Category: Learning Corner
Grab some polymer clay and let's mold together!
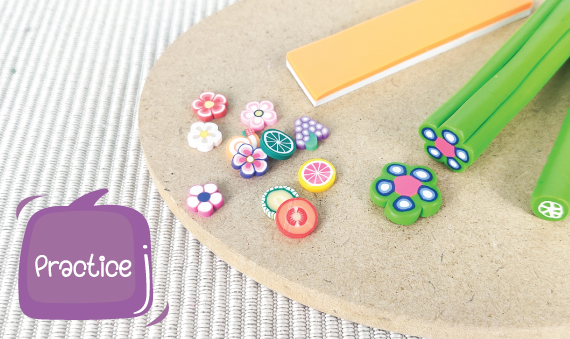
Today, we want to try making our own Polymer Cane pattern. Cutting it into pieces should be satisfying and visually appealing.
Give it a try! Here are four basic techniques for making Polymer Cane. Let's explore them together.
Give it a try! Here are four basic techniques for making Polymer Cane. Let's explore them together.

Note* Before you start sculpting, don't forget to knead the clay each time. It will make the sculpting process easier.
The technique of rolling flat involves using a pasta machine because each sheet will have an even thickness, and we can adjust the thickness as needed.
Clay Rolling Steps:
- After kneading the clay into a round shape, ensure it is as smooth as possible. If there are air bubbles, puncture them.
- Before feeding it into the pasta rolling machine, press the clay flat with your hands to make it easier to insert.
- Roll the clay to achieve the desired thickness.


When assembling the pieces together, it is crucial to check thoroughly.
Each layer should adhere tightly. This way, when cutting patterns, they will turn out beautiful and clear.
Prefabricated polymer canes available in the market have a texture similar to dense plastic, making them easy to cut due to their dense composition.
However, for polymer clay, the plasticity of the surface is different and not as dense as that of the prefabricated ones.
So, I recommend using a sharp blade because it is thin and has a sharp edge.


In addition to the basic techniques mentioned earlier, the most crucial thing is 'practice.'
The more intricate the pattern, The more important it becomes to study the methods and experiment multiple times.
However, If you can successfully create even one piece, you can be extremely proud of yourself.
26 September 2024
Viewed 81 time


